

How We Make A Retro 3" Single Prong Weightlifting Belt
Ever wondered how a weightlifting belt is made? Check out our video below where we go through the whole process from start to finish!
Steps To Making A Belt
Each belt starts with the same core ingredients. Whether that's a 3" powerlifting belt, custom weightlifting belt or lever powerlifting belt, we use vegetable tanned leather to fill the belt. Sometimes you might see a weightlifting belt with grey papery nonsense inside. Our UK made belts are built to last so that begins with the right materials.
Once we have our vegetable tanned leather hide (which is 3.0-3.5mm thick) we need to cut it down to the right thickness. We use a 100 tonne clicker press and metal cutting tool to stamp out the leather layer. Each Retro 3" Powerlifting Belt is made from 2 layers of vegetable tanned leather glued and stitched together. Once finished the belts thickness is approximately 7mm thick.
Once the leather has been cut to the right width we then cut each of the 2 layers to the desired length; depending on the belt size. We then take the two layers apply heavy duty upholstery adhesive to both pieces then carefully line them up and stick them together.
Once dried we stitch the belt on a heavy duty sewing machine, with equally heavy duty nylon thread (cotton is not flexible and snaps). After the belt has been stitched the next step is to cut out the holes. We have one tool to cut the 10 prong holes and another to cut the 4 rivet holes and prong hole.
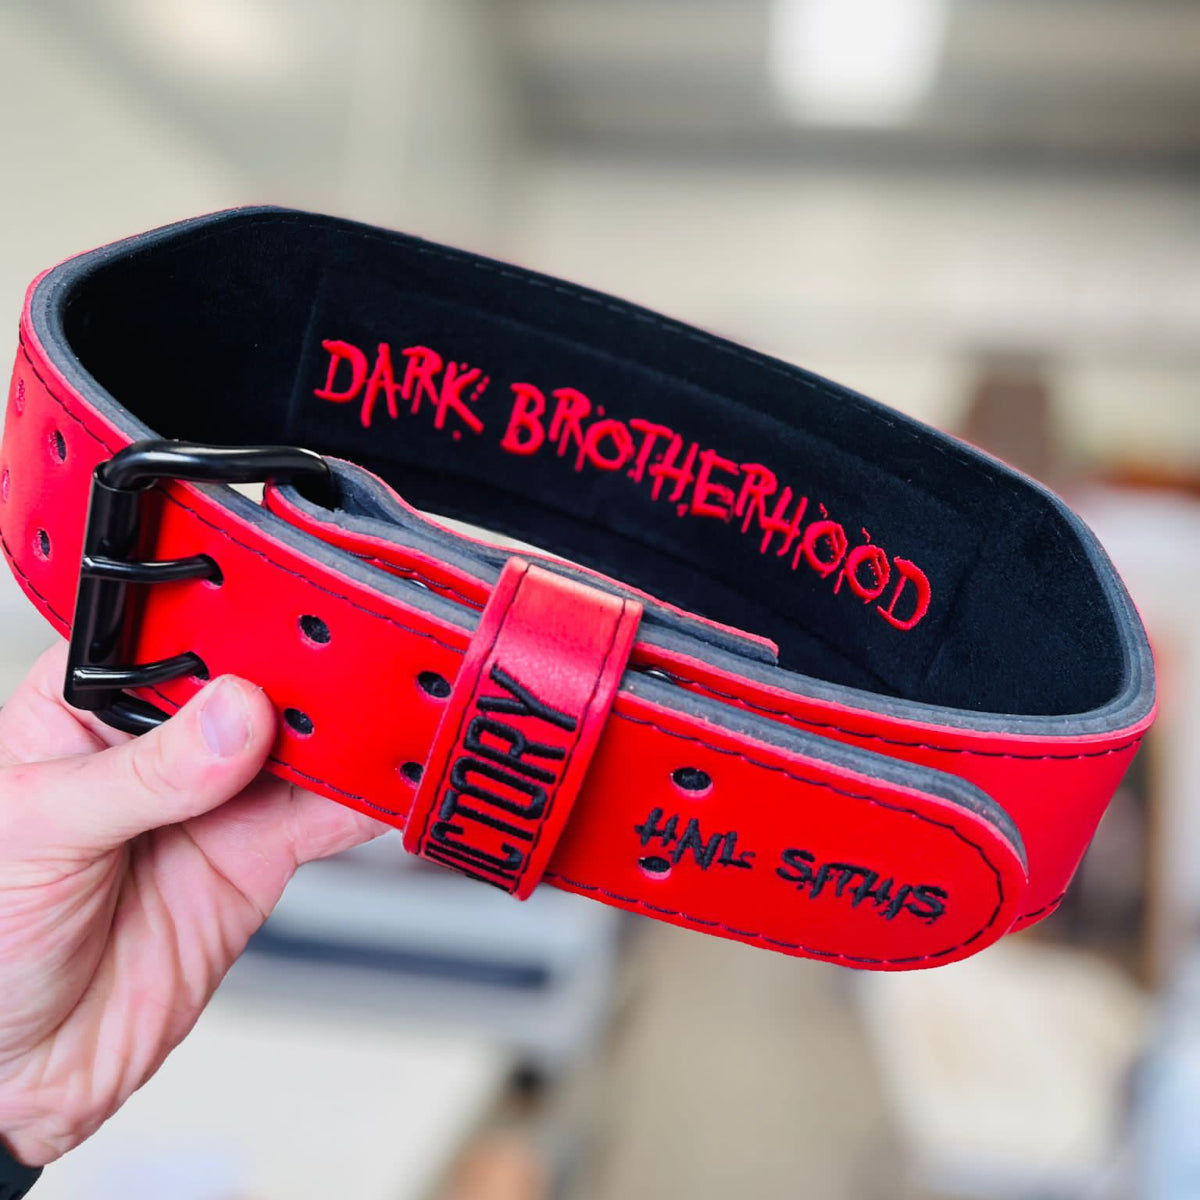
A 'keeper' is then cut (the strip of leather that the excess of belt slides through), and riveted together in a loop. We attach the buckle and keeper to the belt and hammer in the 4 rivets.
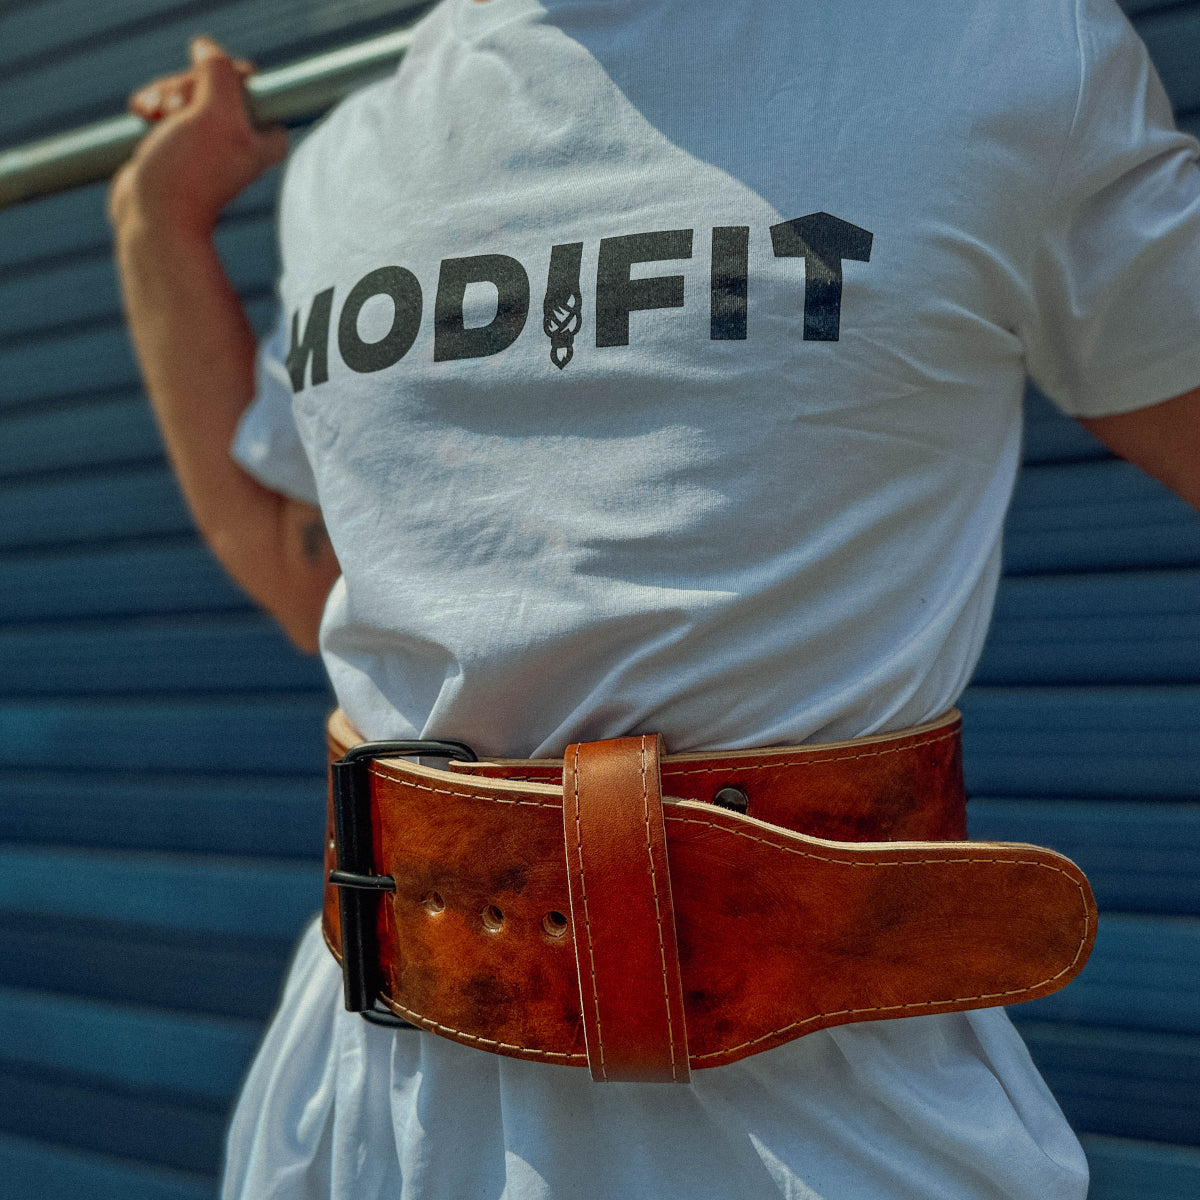
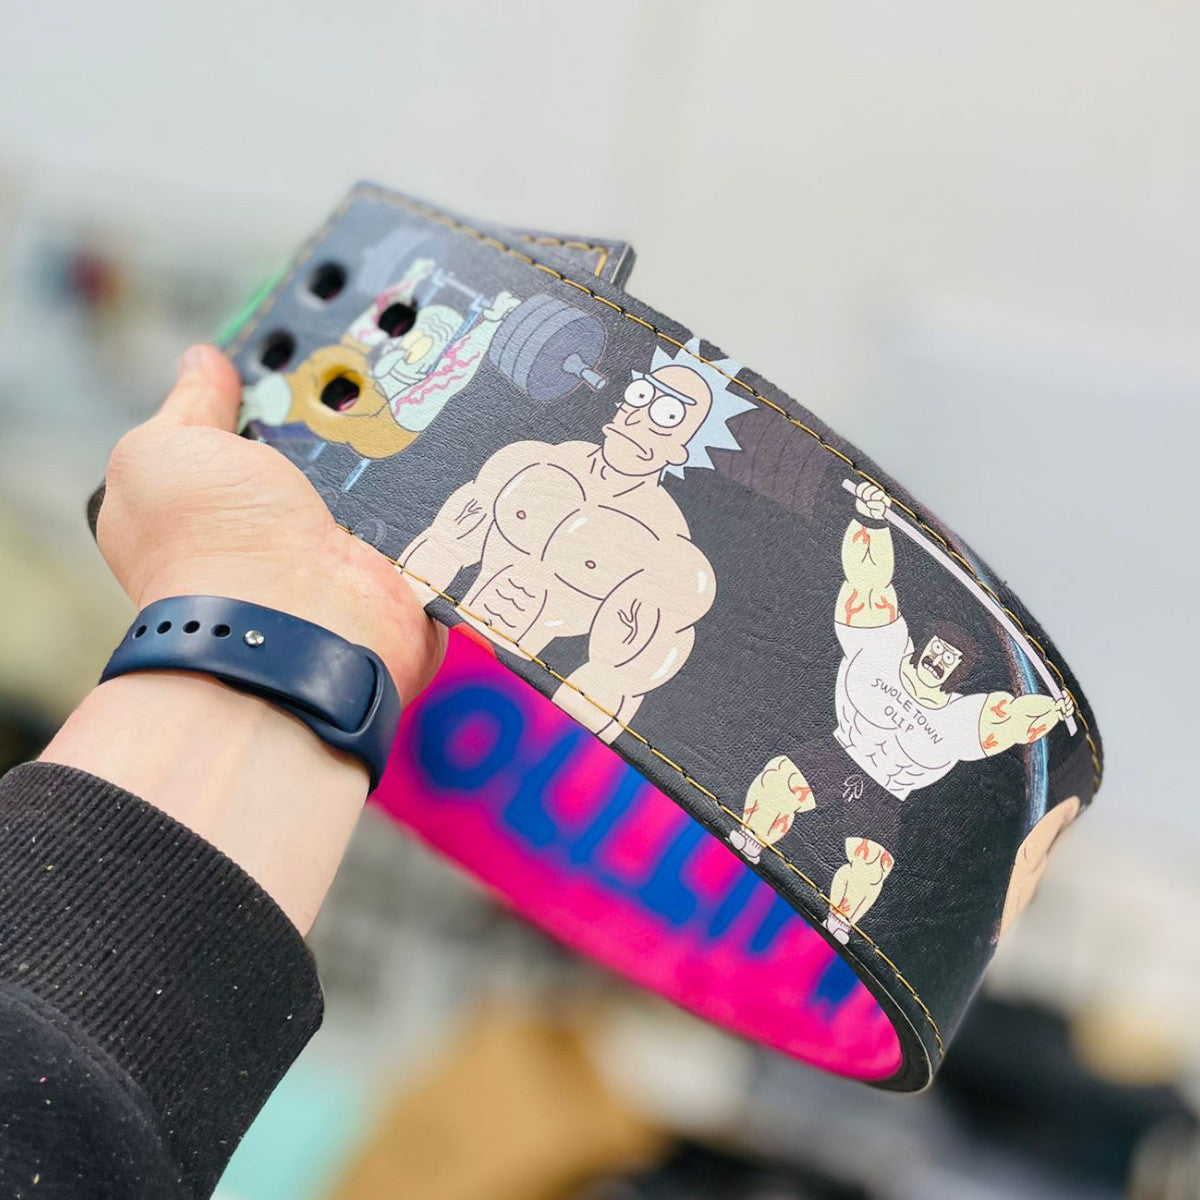
The final stage of the process is applying the logo to the back of the belt. The belt is now complete; the full retro natural look with subtle embossed logo. A belt that is built to last and with a lifetime warranty!
CHECK OUT THE RETRO POWERLIFTING BELT HERE
Made in UK
We are proud to be the UK's only custom weightlifting belt manufacturer